If you’ve ever found yourself yearning for the delightful combination of crispy cookies and creamy peanut butter filling that Nutter Butter cookies offer, you’re in for a treat. These iconic peanut-shaped treats have captured the hearts and taste buds of cookie enthusiasts for generations. Imagine being able to recreate this beloved classic in your own kitchen. In this article, we’ll guide you through crafting your very own batch of irresistibly delicious Copy Cat Nutter Butter cookies, ensuring a delightful experience for your palate.

Table of Contents
- Introduction: Rediscovering the Magic of Nutter Butter Cookies
- Essential Ingredients for Baking Success
- The Tools You’ll Need for Baking Excellence
- Crafting the Perfect Peanut Butter Biscuits
- Creating the Cookie Dough
- Shaping the Signature Peanut Form
- Baking to Golden Excellence
- Achieving the Creamy Filling: Striking the Perfect Balance
- Preparing the Velvety Peanut Butter Filling
- Assembling Your Nutter Butter Masterpieces
- Elevating Your Cookies: Creative Additions
- The Art of Chocolate Dipping
- Nutty Drizzles for Visual and Flavorful Delight
- Expert Tips for Cookie Connoisseurs
- Mastering Cookie Texture Perfection
- Storing Your Homemade Nutter Butters
- Unleash Your Artistic Flair: Innovative Cookie Decoration
- Conclusion: Embark on Your Homemade Nutter Butter Journey
Introduction: Rediscovering the Magic of Nutter Butter Cookies
Nutter Butter cookies hold a special place in our hearts as the embodiment of delightful childhood memories. The combination of peanut-shaped cookies with a luscious peanut butter filling is an instant trip down memory lane. What if we told you that you can recreate this nostalgia-inducing treat in the comfort of your own kitchen?
Essential Ingredients for Baking Success
To embark on your homemade Nutter Butter adventure, make sure you have the following ingredients on hand:
- All-purpose flour
- Creamy peanut butter
- Unsalted butter
- Granulated sugar
- Brown sugar
- Baking powder
- Baking soda
- Salt
- Egg
- Vanilla extract
The Tools You’ll Need for Baking Excellence
Before we delve into the baking process, ensure you have these essential tools ready:
- Mixing bowls
- Electric mixer
- Baking sheets
- Parchment paper
- Cookie cutters (preferably peanut-shaped)
- Wire rack

Crafting the Perfect Peanut Butter Biscuits
Creating the Cookie Dough
Begin by creaming together butter, granulated sugar, and brown sugar until the mixture becomes light and fluffy. Incorporate peanut butter, an egg, and vanilla extract into the mix until everything is well combined. In a separate bowl, whisk together all-purpose flour, baking powder, baking soda, and salt. Gradually integrate the dry ingredients into the wet mixture, stirring until a cohesive dough forms.
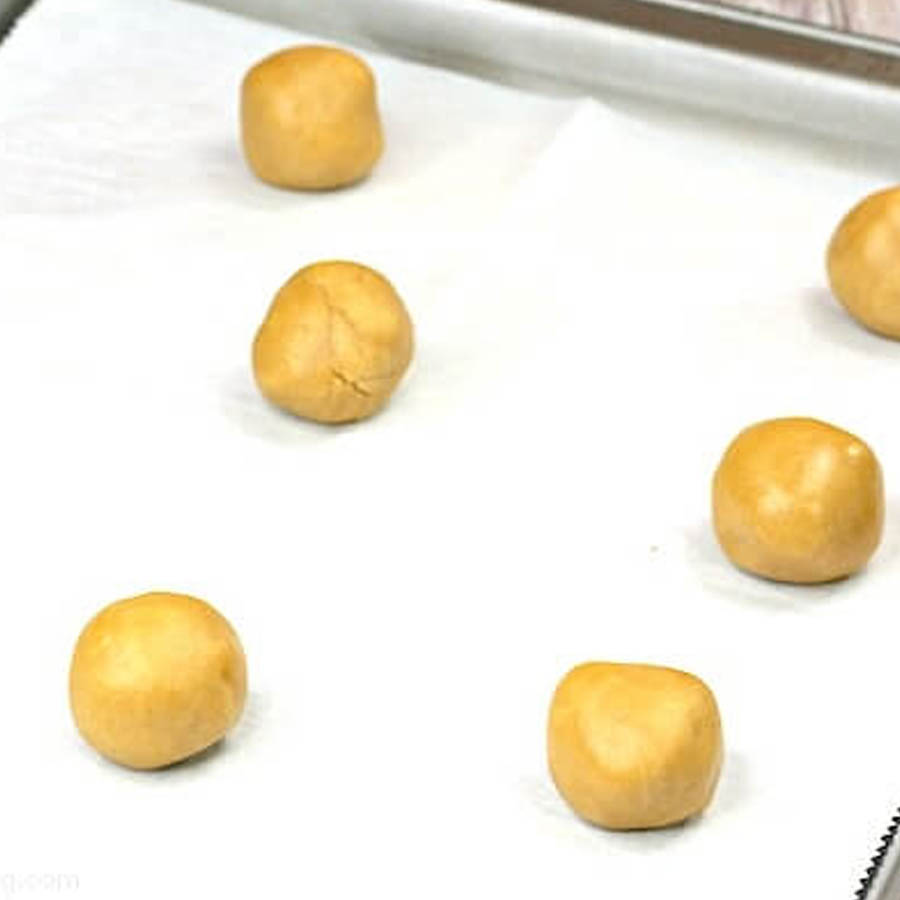
Shaping the Signature Peanut Form
Divide the dough into two equal portions and roll each portion to a thickness of around 1/4 inch. Utilize peanut-shaped cookie cutters to cut out cookies. Place the cutouts onto baking sheets lined with parchment paper, ensuring a bit of space between each.
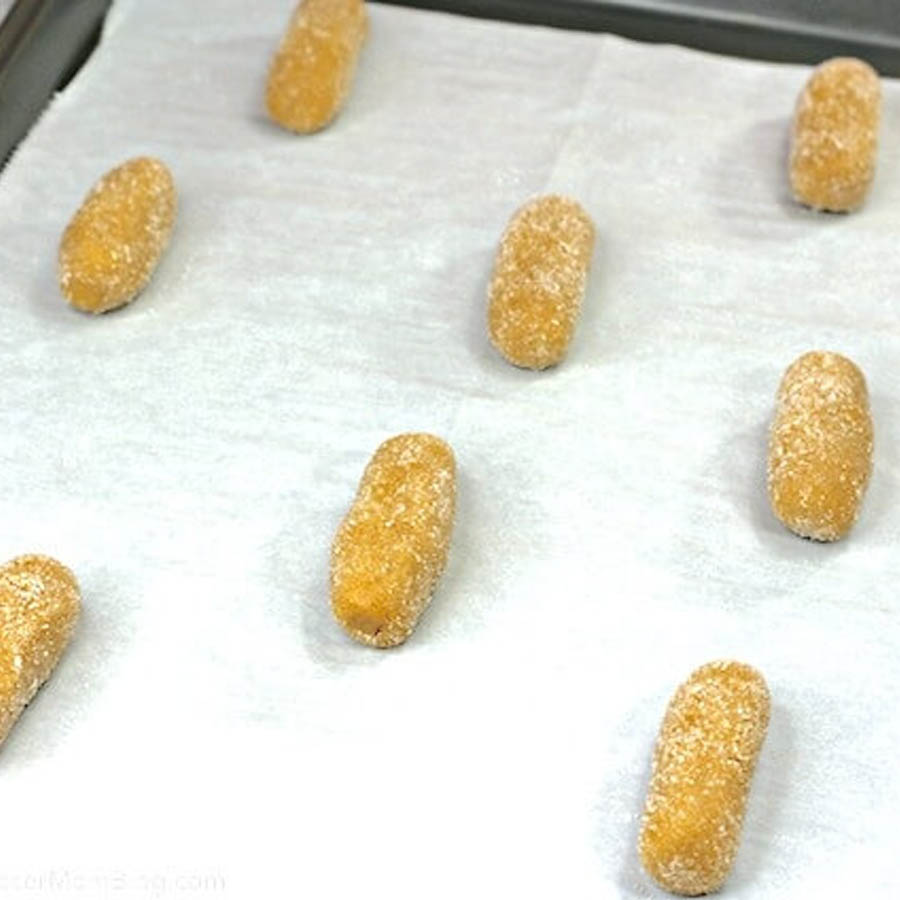
Baking to Golden Excellence
Preheat your oven and bake the cookies for 10 to 12 minutes, or until they attain a golden hue around the edges. Once baked, allow the cookies to cool on a wire rack.
Achieving the Creamy Filling: Striking the Perfect Balance
Preparing the Velvety Peanut Butter Filling
In a bowl, blend creamy peanut butter with softened butter, powdered sugar, and a touch of vanilla extract. Continue blending until the mixture achieves a smooth and creamy consistency.
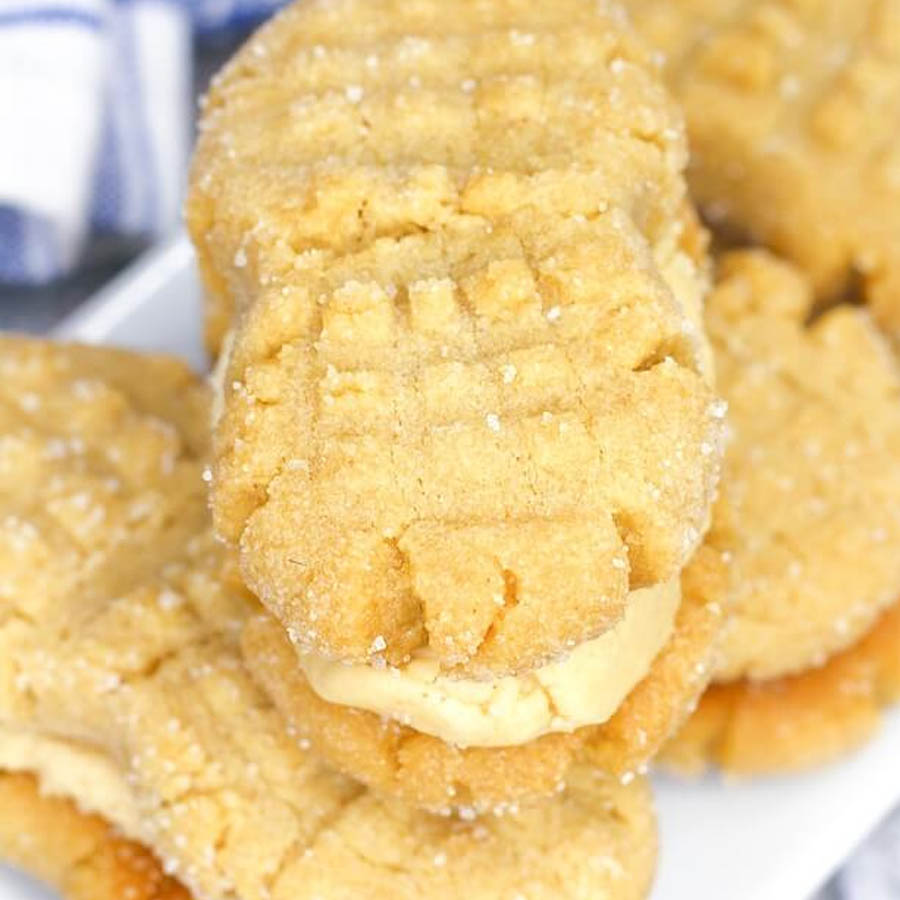
Assembling Your Nutter Butter Masterpieces
Pair up the cooled peanut-shaped cookies and spread a generous layer of the peanut butter filling onto one cookie. Top it with another cookie to create the iconic sandwich shape. Gently press the cookies together, allowing the filling to spread evenly.
Elevating Your Cookies: Creative Additions
The Art of Chocolate Dipping
For an added layer of decadence, melt chocolate and dip one end of your Nutter Butter sandwiches into the melted goodness. Allow the chocolate to set before savoring each bite.
Nutty Drizzles for Visual and Flavorful Delight
Enhance both the visual appeal and flavor profile by drizzling melted peanut butter over the assembled cookies. This not only introduces a delightful nutty flavor but also transforms your Nutter Butters into edible works of art.
Expert Tips for Cookie Connoisseurs
Mastering Cookie Texture Perfection
To achieve the ideal blend of crunchiness and creaminess, ensure that the cookies are baked to a golden perfection and that the filling boasts a velvety smoothness.
Storing Your Homemade Nutter Butters
Preserve the freshness and texture of your homemade Nutter Butters by storing them in an airtight container at room temperature.
Unleash Your Artistic Flair: Innovative Cookie Decoration
Indulge your creative side by decorating your Nutter Butters with vibrant sprinkles, edible glitter, or even a dusting of cocoa powder for an elegant touch.
Conclusion: Embark on Your Homemade Nutter Butter Journey
In a world inundated with store-bought treats, the joy of crafting your very own batch of Copy Cat Nutter Butter cookies is truly unparalleled. The journey itself is an act of love, resulting in a harmonious symphony of flavors and textures that’s uniquely yours. So, don your apron, gather your ingredients, and set out on a delightful quest to create nutty delights that will have everyone craving your secret recipe.
FAQs
1. Is it possible to use chunky peanut butter for the filling?
Absolutely! While the traditional choice is creamy peanut butter, opting for chunky peanut butter can introduce an enjoyable texture variation to your Nutter Butters.
2. Can the cookies be made gluten-free?
Certainly! Just substitute the all-purpose flour with your preferred gluten-free flour blend.
3. How long do these cookies remain fresh?
When stored in an airtight container, your homemade Nutter Butters can maintain their freshness for up to a week.
4. Can I freeze the cookie dough?
Absolutely! Shape the cookie dough into logs, wrap them tightly in plastic wrap, and freeze for up to two months. When the craving strikes, simply slice and bake.
5. Can I experiment with other flavors in the filling?
Indeed. Feel free to get creative by trying different extracts, such as almond, or adding a dash of cinnamon for an innovative twist on the classic recipe.